I love to find new uses for household and personal care products. Something in my personality is gratified by using double-duty items; my clothes are all separates, I re-use just about every jar, coffee can and old box, and recycle everything I can. So, of course, I'm especially happy when I find a product that will do double duty; such as this product created for hair that gets all frizzy in humid weather when you want it to lay straight and glossy. It's called
Biosilk Silk Therapy and is manufactured by the
Farouk Systems, Inc. located in Houston, Texas, U.S.A.
I actually received my first bottle of this product so long ago, it was actually really inexpensive; something like $2bottle. Not, it is considerably more expensive, but they have refined the formula and it works better than ever on face, nose, ears, and lips. I've even used it to blow-dry my hair; a rare event, and never terribly successful, but one I still practice every so often just to keep up with being all girly.
I still can't remember how I connected the idea of using this product on plastic beads, but I must have overheard something about some tire product containing silicone and retained it in my own peculiar, odd mix of a filing cabinet of memories.
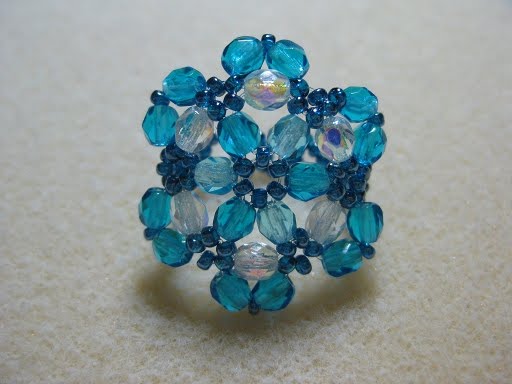
I had purchased these very cool vintage beads made of black plastic and set with rhinestones. These beads looked as though they had once been gorgeous but, over time, had become scuffed and looked a bit "underloved" when they should look as if they had been long enjoyed, worn, passed down and while nowhere near "perfect" vintage, then at least "cared-for though used extensively" vintage. That's my favorite kind of vintage; vintage with a story, vintage that has had a life. It has been worn by the various owners over the years, it has been loved, well cared for, enjoyed, maybe had an accident or two, gotten scuffed and dull over the years, has a few scars, but is still just as beautiful.
These beads needed a bit of the attention they had not received prior to becoming my beads, and would need to soon be worked into a piece of jewelry to be worn, loved, tossed around a little bit, maybe nabbed by the cat once or twice when he was collecting shiny things, as he does occasionally, and generally been allowed to live. So, I thought of the method I use to clean glass beads, grabbed the window cleaner, gave them a spritz and - yep, they turned a sort of white/gray and horrible looking. Washing, soaking, and a final, desperate scrubbing did noting but add that faux "worn vintage" look I had so wanted, but still they were discolored. I put them away in a drawer, sad but not yet out of hope.
A few days later, I received a shipment of sample beads from a favorite bead seller, the unspeakably cool resin beads from Natural Touch Resin Beads makes of the most gorgeous resin beads I've ever looked upon.
Naturally, having been shipped, imported, prepared for various shows, shown at shows indoors and out, some of these beads had become a bit grimy, in need of a good soapy bath. So, I drew a sink full of very hot water, added soap, then the beads, then walked off for about an hour to do something else.
I was sure that my resin beads were goners. they were goners. All of them, strands of resin beads, beautiful, fabulous, handmade resin beads, all that beauty, a dull whitish sort of cast, with almost no color remaining.
I had also pulled out some of those little glass globs - the type that are used in flower arrangements or in some stained glass projects - that looked like they had been tumbled to give them a matte finish. It looked like they were covered in some kind of dust, completely obscuring the color of the globs. When they were wet, I could see that these globs had a blend of clear and purple glass and were very cool looking, but I had to do something about the powdery finish that made the glass almost occluded. So, I applied the Biosilk, and what do you know - gorgeous! Still matte, but with a sheen, so that the colors inside the globs is visible.
Of course, I know that the application of oil or grease-based products will do the same thing to glass or plastic that has surface irregularities that give it a dull appearance, but I don't care to use oil or grease on beads. It not only attracts dust and dirt, but it rubs off on clothing, smears, and, in some cases, can even go rancid, making the beads smell awful. The
Biosilk product does none of that. Once I put it on the beads, it seem to soak in/ A bit of buffing removes any leftover product from the immediate surface, so it will not transfer to fabric or skin. It does not attract dirt and has, so far, not "turned" or gone bad, I and I first used it on plastic beads about five years ago.
I cannot say for sure that
Biosilk is perfect for every bead made. I'm not even sure which ingredient makes the glass and plastic/resin look good, since I'm not a chemist. I do know that, unlike some silicone-based products, it does not seem to alter the plastic or dissolve it, making it gooey or sticky; it just seems to moisturize the beads, giving them a nice sheen.
Try it yourself. Pick up a small bottle, pull out few matte glass or scuffed plastic or resin beads, and give them a wipe. I bet you'll be pleased with the results.
You can purchase
Biosilk in 2 oz. bottles which, if you're using it strictly for beads and not for hair, should last a good long time. I've had my bottle (the 5.64 oz. size) for well over a year, using it for hair, mostly, and have used less than an ounce. You only need a tiny bit of this cool product to rejuvenate your old plastic and resin beads. There are other products much like it. I can't vouchsafe them, as the only one I've tried is the
Biosilk, however, since the ingredients are basically the same I'm sure the others would work as well.
Thanks for visiting biconebeads.blogspot.com. Keep visiting us for latest update about
bicone beads.

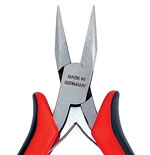
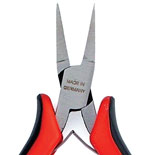

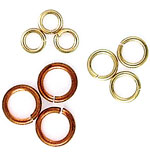
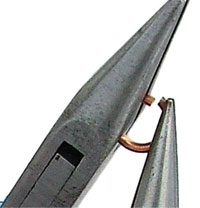 Use two pairs of smooth chain-nose pliers (bent or flat-nose pliers work fine as a second plier). (Photo A)
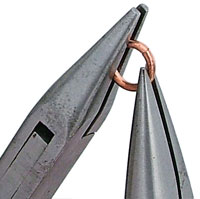 Push ring open with right plier while holding across the ring with left plier. To close, hold in the same way and rock the ring back and forth until ring ends rub against each other or you hear a click. Moving the ring past closed then back hardens the ring and assures a tight closure. (Photo B)
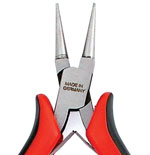
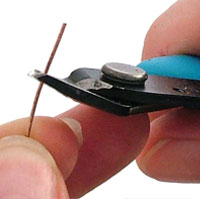 The length used for the eye loop depends on how big you want the loop. Here we will use 3/8 inch for a moderate size loop. Flush trim end of wire. (Photo A)
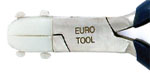
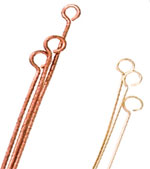
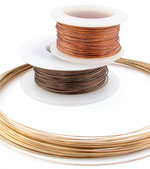
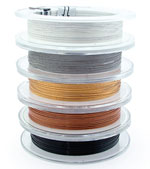
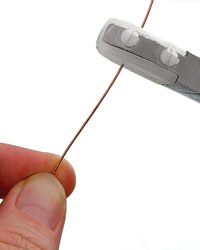 Practice wire wrapping with either 22- or 24-gauge wire. Harden slightly by pulling on one end with the other end clamped in a vise or pull one or two times through nylon-jaw pliers. (Photo A)
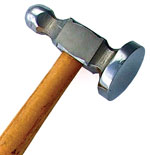
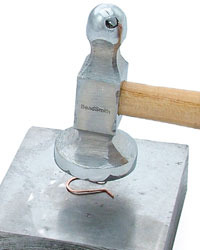 Create your shape from wire. Keep hammer flat to prevent marring wire. Flip over after a few taps and hammer on opposite side. Don’t get carried away, if you hammer too much metal becomes brittle and breaks. (Photo A)
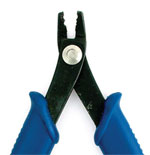
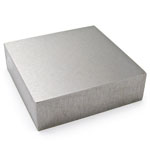
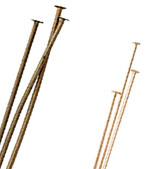
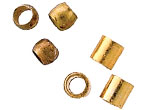
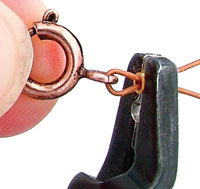 Hold wires parallel and make sure crimp is positioned correctly. Using front slot on plier, shape crimp into a small oval. (Photo A)


